Attach to Vault Application Framework processes
Manually attaching to processes whilst debugging Vault Application Framework applications can become tedious. Instead, Visual Commander - a free extension for Visual Studio - can be used to create a button which will perform the process instead.

The details below were tested using Visual Studio 2017 and Visual Commander 2.8.1.
Installing Visual Commander
Visual Commander can also be downloaded as a VSIX from their website.
Visual Commander can be installed by opening Visual Studio, selecting the Tools menu, then Extensions and Updates, selecting Online on the left, and entering Visual Commander into the search box.
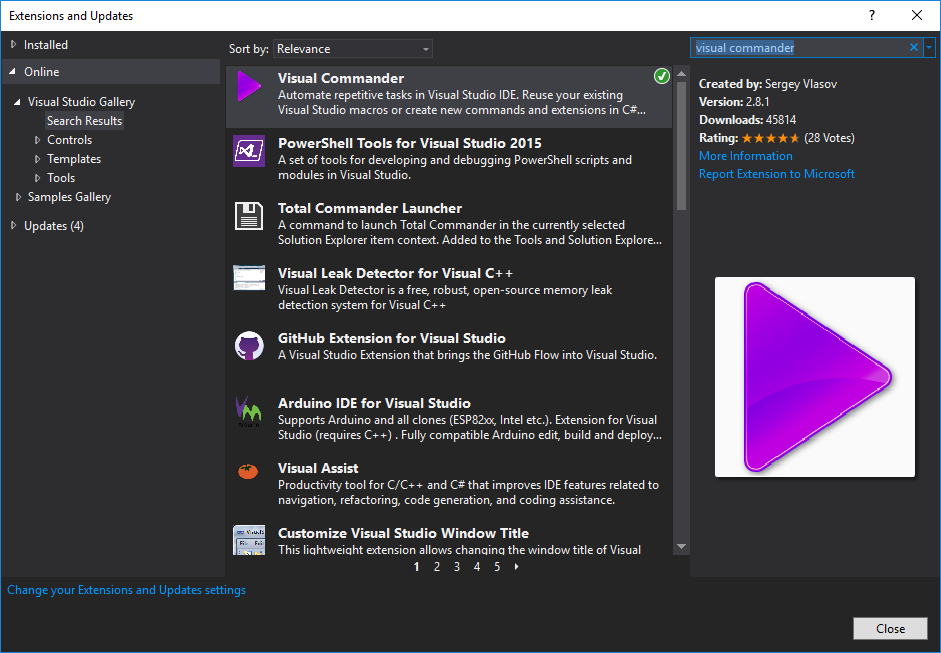
Installing the extension will require Visual Studio to be restarted.
The “Attach to VAF Processes” Command
Creating the command
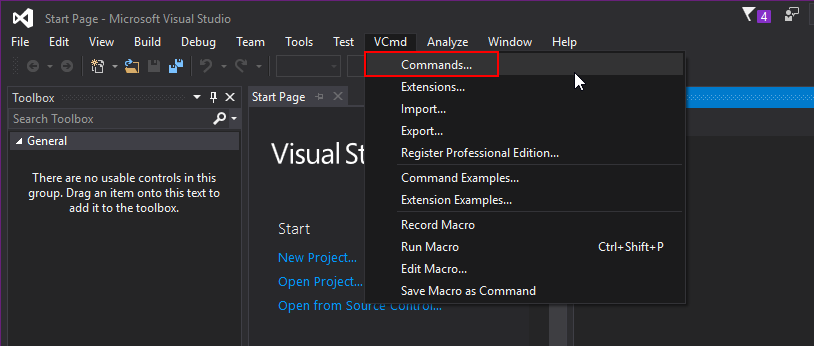
Once Visual Commander is installed, a command can be created to automate the process of attaching to the MFAppPlatform.exe processes:
- Select the
VCmdmenu, thenCommands...:
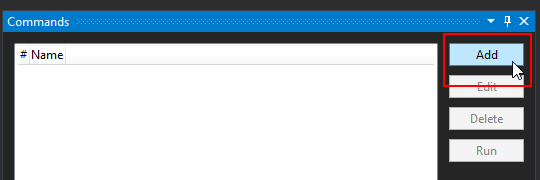
- Add a new command:
- Ensure that the
Languageis set toC#, and provide a name. This name will be displayed on the button:
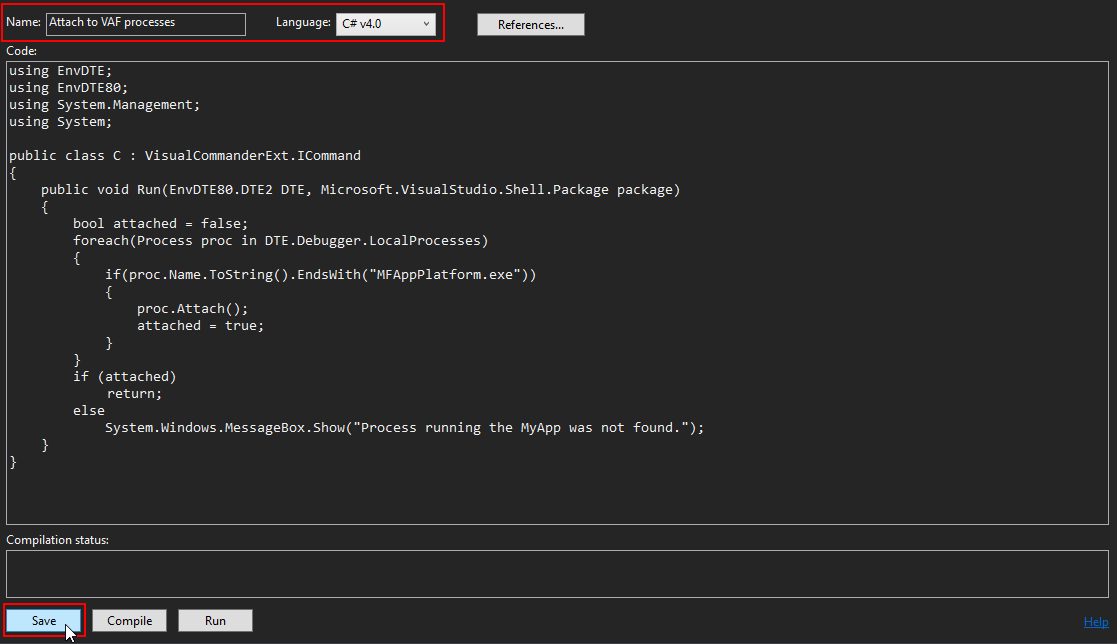
Remove the existing command code and replace it with the following:
using EnvDTE;
using EnvDTE80;
using System.Management;
using System;

public class C : VisualCommanderExt.ICommand
{
    public void Run(EnvDTE80.DTE2 DTE, Microsoft.VisualStudio.Shell.Package package)
    {
        bool attached = false;
        foreach(Process proc in DTE.Debugger.LocalProcesses)
        {
            if(proc.Name.ToString().EndsWith("MFAppPlatform.exe"))
            {
                proc.Attach();
                attached = true;
            }
        }
        if (attached)
            return;
        else
            System.Windows.MessageBox.Show("There are no MFAppPlatform.exe processes to attach to.");
    }
}
Note the number of the command (shown in the # column). This will be used to reference the command.

Adding the command to the menu
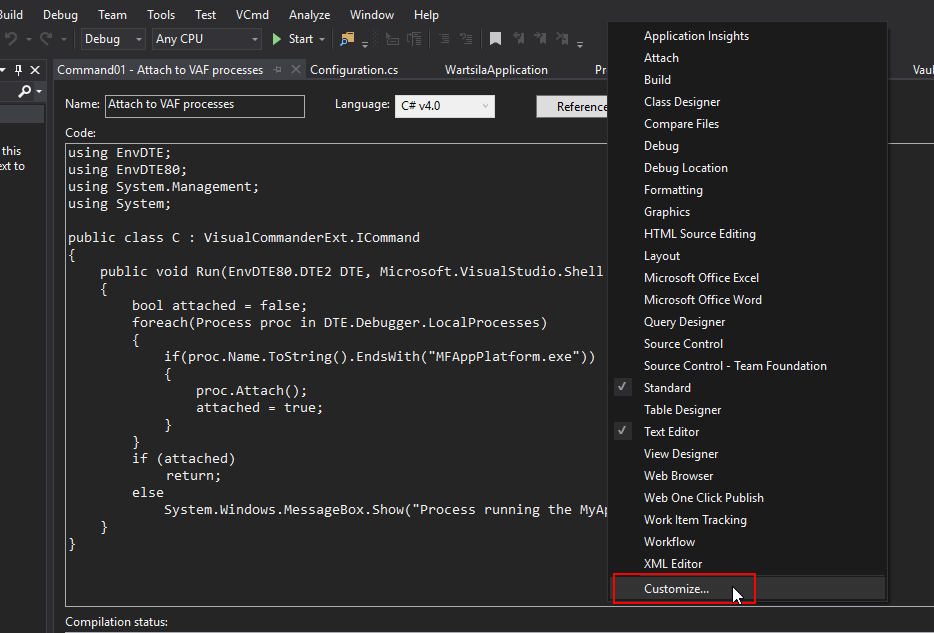
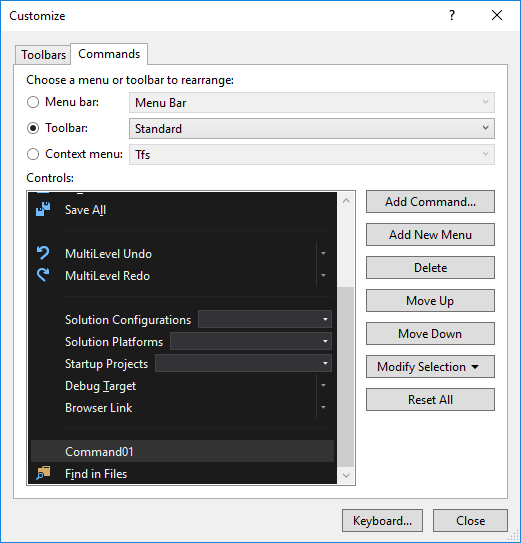
- Right-click on the toolbar in Visual Studio and select
Customize:
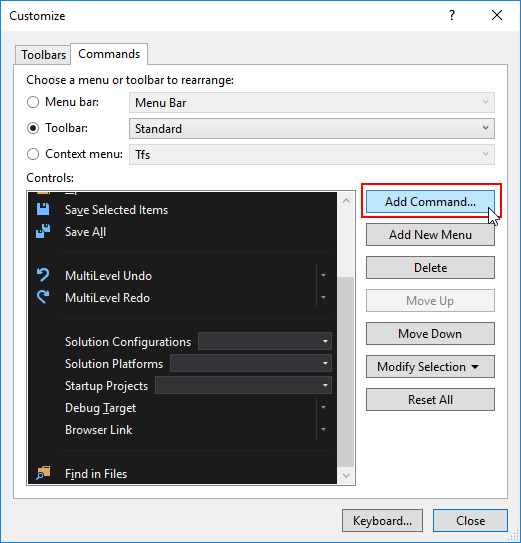
- Select the
Commandstab, ensure thatToolbaris set toStandard, and selectAdd Command:
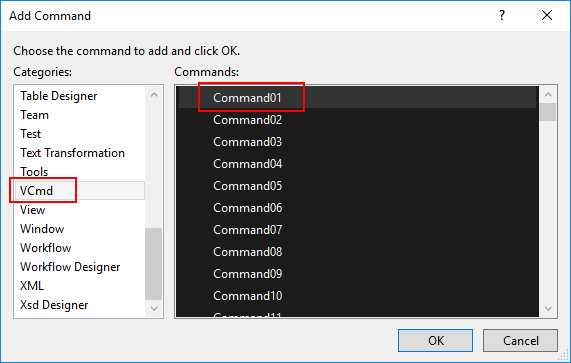
- Select
VCmdas the category and select the command from the list on the right. If the command had number1then the selected command should beCommand01:
- Use the
Move UpandMove Downbuttons to move the command to the position within the toolbar that you want:
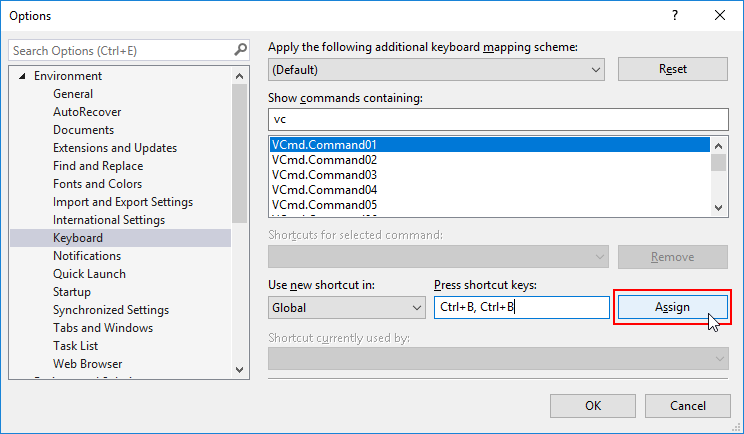
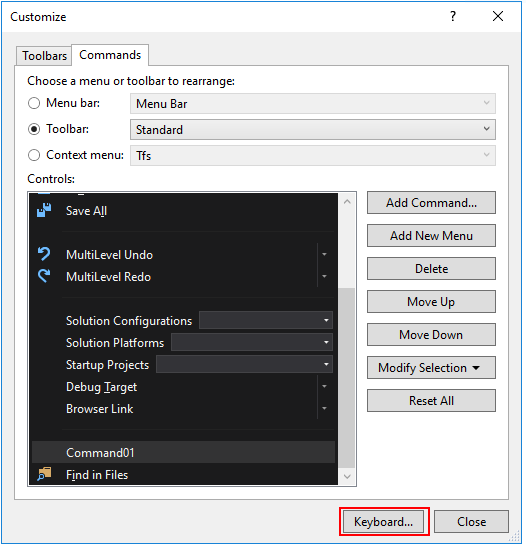
Assigning a keyboard shortcut
To assign a keyboard shortcut to the command, the click Keyboard... when customizing the toolbar:
- In the
Show commands containingtext box, entervcand select the command:
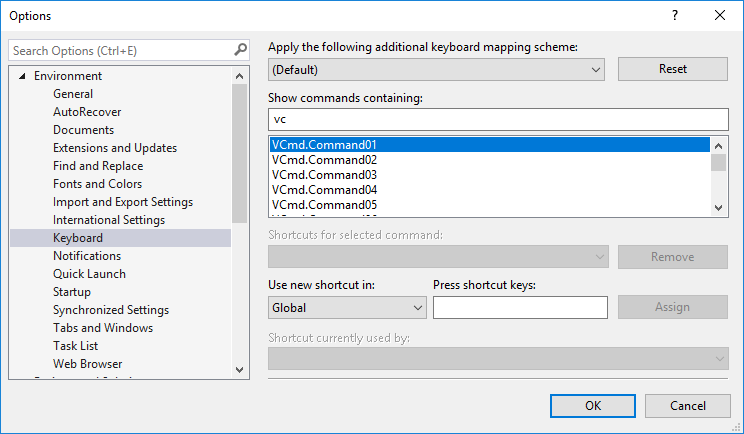
-
Select the
Press shortcut keystext box and press the keys to add as a shortcut. -
Assign the shortcut key by pressing
Assign. In the screenshot below, theCtrlkey must be held down andBpressed twice.